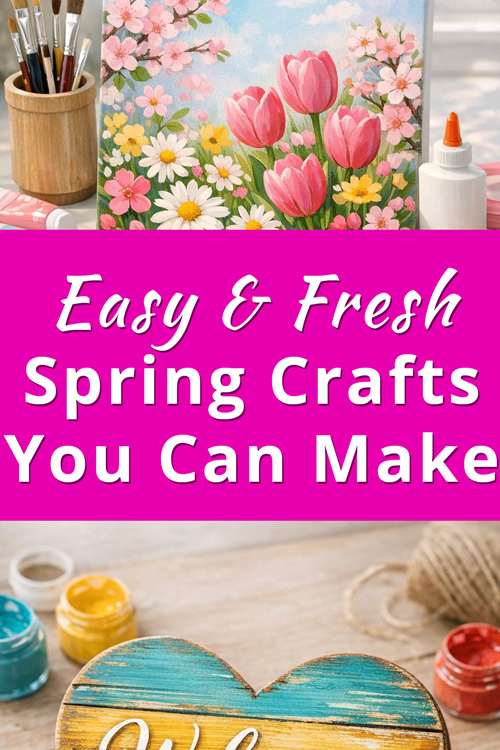
Spring is the perfect excuse to shake up your home decor with lively colors, natural textures, and a few creative handmade touches.
As the days stretch out and everything outside starts to bloom, it just feels right to want a bit more brightness indoors too.
In this article, you’ll find some easy Spring crafts you can create today. They’ll instantly lift your space and bring in that fresh, seasonal energy.
Whether you’re a seasoned crafter or just dipping your toes in, these projects are fun and approachable. They might even spark a little inspiration you didn’t expect…
Grab your supplies, open a window, and let’s see what spring can do for your home!
Want to Save this Article?
You’ll also love: 12 Cute Valentine’s Day Crafts You Can Do: Easy DIY Ideas on a Budget
Learn From the Video:
Craft 1: Floral Canvas Art
Materials Needed
- 8×6 canvas
- Screwdriver and pliers
- Painter’s tape
- Mod Podge (matte)
- Decorative napkins
- Parchment paper
- Iron
- Scissors
- Wood frame
- Antique wax
- Rub-on transfers
Instructions
(Watch the video above for easier instructions)
- Prepare the Canvas: Start by removing the canvas from the wood frame using a screwdriver and pliers.
- Secure the Canvas: Lay the canvas on a paintable surface and tape it down with painter’s tape.
- Apply Mod Podge: Coat the canvas with a layer of matte Mod Podge and let it dry.
- Prepare the Napkin: Remove the bottom two layers of the napkin and place it over the dried canvas, arranging it to your liking.
- Iron the Napkin: Cover the napkin with parchment paper and gently iron it to adhere it to the canvas without wrinkles.
- Seal the Napkin: Trim any excess napkin and apply another layer of Mod Podge on top to seal it.
- Decorate the Frame: Stain the wood frame with antique wax and apply rub-on transfers for added motivation.
- Assemble: Attach the canvas back to the frame using glue and staples.
Don’t miss: 10+ Valentine’s Day Crafts for Your Office: Easy DIY Affordable Ideas
Craft 2: Painted Heart Decor
Materials Needed
- Galvanized metal heart
- Waverly chalk paint (plaster)
- Decorative napkin
- Mod Podge
- Cling wrap
- Ribbon
Instructions
(Watch the video above for easier instructions)
- Paint the Heart: Apply a coat of plaster paint inside the heart, leaving a small border unpainted.
- Prepare the Napkin: Remove the back layers of the napkin and tear around the desired design.
- Adhere the Napkin: Use Mod Podge to secure the napkin to the heart, smoothing it with cling wrap.
- Add a Bow: Create a bow with ribbon and attach it to the top of the heart for a decorative touch.
Craft 3: Pine Cone Flowers
Materials Needed
- Pine cones
- Carrots (Dollar Tree)
- Waverly chalk paint (moss and plaster)
- Floral foam
- Terracotta pot
- Spanish moss
- Ribbon
Instructions
(Watch the video above for easier instructions)
- Prepare Pine Cones: Use clippers to create flower shapes from the pine cones.
- Paint Carrots: Coat the carrots with moss paint to create stems.
- Assemble Flowers: Attach the pine cone flowers to the painted carrots using hot glue.
- Plant in Pot: Secure floral foam in the terracotta pot, insert the flowers, and cover with Spanish moss.
- Add a Bow: Finish with a bow made from ribbon around the pot.
Craft 4: Rustic Wood Sign
Materials Needed
- Wood coaster
- Wood peg dolls
- Waverly chalk paint (plaster and truffle)
- Napkin for decoupage
- Hot glue
Instructions
(Watch the video above for easier instructions)
- Prepare the Base: Glue the peg dolls around the base of the wood coaster.
- Paint the Coaster: Apply plaster paint to the entire piece, followed by a decoupage napkin on top.
- Seal and Finish: Use Mod Podge to seal the napkin and display your rustic sign.
Craft 5: Canvas Decoupage
Materials Needed
- 5×7 canvas
- Painter’s tape
- Decorative napkin
- Waverly chalk paint (sandstone)
- Mod Podge
Instructions
(Watch the video above for easier instructions)
- Frame the Canvas: Use painter’s tape to create a border on the canvas.
- Prepare the Napkin: Tear the napkin into desired shapes and arrange on the canvas.
- Adhere the Napkin: Apply Mod Podge to secure the napkin, smoothing it out with cling wrap.
- Finish the Edges: Paint the edges with sandstone and seal with Mod Podge.
For more crafts, watch the video above…
Conclusion
These easy spring crafts bring a fresh look to your home and capture that feeling of renewal we all crave this time of year.
Maybe you’ll make some floral art, rustic signs, or a few quirky handmade decorations – each project adds a personal touch that makes your space feel brighter and more inviting.
What’s nice is that these crafts are simple and customizable, so you don’t need to be a pro to dive in.
Just grab a few materials, tap into a bit of creativity, and you can turn everyday items into cheerful pieces that reflect the colors and energy of spring.
Go ahead, gather your supplies and carve out a little time for yourself.
Start crafting today! It’s really surprising how much joy these small projects can bring right into your home…